Deployment via Jamf Pro
This guide covers deploying the SenseOn Universal Sensor to macOS devices using Jamf Pro.
Compatibility: Deployment is fully supported via Jamf Pro but is not currently compatible with Jamf Now.
Jamf Pro deploys SenseOn in two steps:
- Grant the agent Full Disk Access by uploading a configuration profile.
- Run the SenseOn install command via a Jamf Pro policy script. The script installs the latest published Universal Sensor version on each in-scope device.
Step 1: Enable Full Disk Access
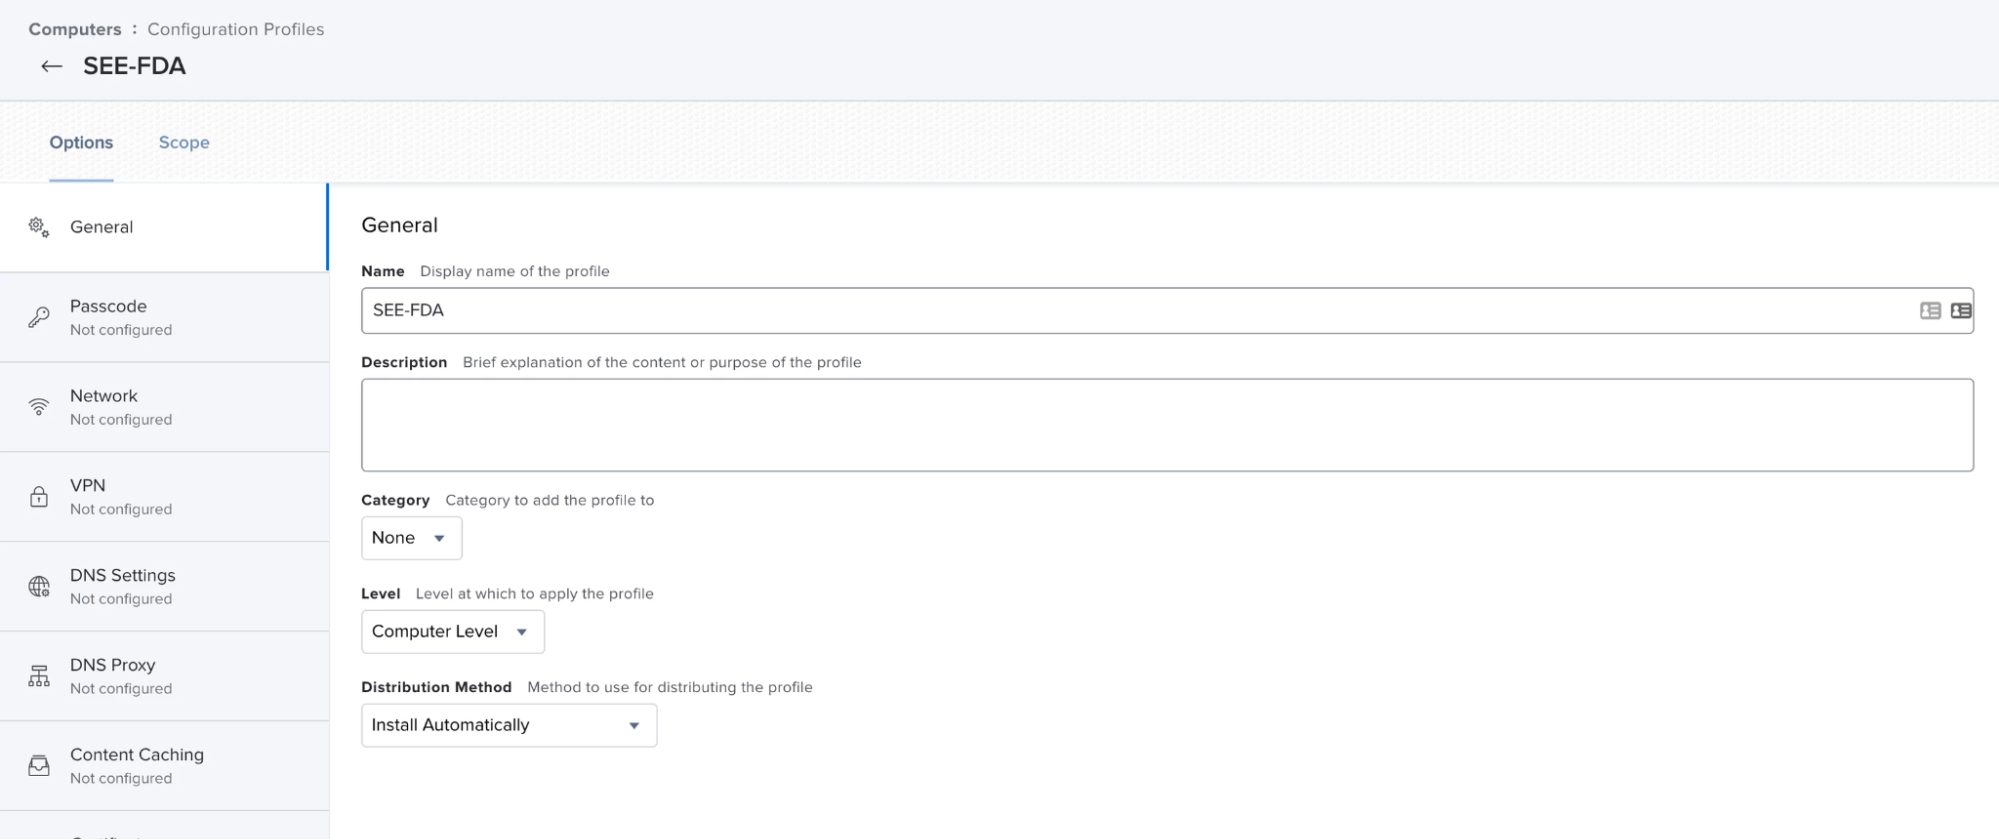
The SenseOn endpoint agent requires Full Disk Access to operate. Upload the SenseOn Full Disk Access configuration profile to Jamf Pro:
- Download the file named
SEE-FDA.mobileconfig. Click here to download SEE-FDA.mobileconfig. - Log in to Jamf Pro and navigate to Computers > Configuration Profiles.
- Click Upload, select the
SEE-FDAfile, and click Upload. - Set the Scope according to your requirements (you can use All Computers and All Users to apply it to every device managed by Jamf). Leave the other settings at their defaults.
Step 2: Copy your install command
- Log in to SenseOn.
- Navigate to Settings > Universal Sensor.
- Copy the macOS install command.
Step 3: Create the Jamf Pro policy
- In Jamf Pro, navigate to Computers > Policies > New.
- Give the policy a name such as
SenseOn Install. -
Under Scripts, add a new script with the following content, substituting your tenant hostname and installer key from Step 2:
#!/bin/bash
set -e
curl -fsSL https://<your-tenant>.senseon.io/install.sh -o /tmp/senseon-install.sh
shasum -a 256 /tmp/senseon-install.sh  # compare against the SHA-256 value shown in Settings > Universal Sensor
SENSEON_INSTALLER_KEY="<your-installer-key>" bash /tmp/senseon-install.sh
If your security policy does not require checksum verification, you can use the single-line form instead:
#!/bin/bash set -e curl -fsSL https://<your-tenant>.senseon.io/install.sh \ | SENSEON_INSTALLER_KEY="<your-installer-key>" bash -
Set the script priority to After so it runs after any policy actions.
- Under Scope, select the computer group(s) you wish to deploy to.
- Under Frequency, set to Once per computer so the script does not re-run on every check-in.
- Save the policy.
Step 4: Verify
Once a managed Mac checks in and runs the policy, it appears in Digital Estate > Devices within a few minutes. To check the rollout progress in Jamf Pro:
- Navigate to Computers > Policies.
- Open the policy you created.
- Click Logs at the bottom right. Each in-scope device is listed with its deployment status.
Note: Devices that have not checked in yet show Pending. Devices that have show Completed.
For diagnostics if a host does not appear in SenseOn, see Troubleshooting.
Need help: If the installation has not been successful please confirm that TLS interception is not taking place. If it is, you will need to allow list
*.snson.net. Then contact our support team for additional help.